There’s something truly magical about transforming ordinary cream into the flavorful spread is a staple in many of our lives. If you’re a passionate advocate of self-sustainability, homesteading, and do-it-yourself projects, learning how to make butter at home is a perfect addition to your repertoire of life skills. We’ll explore how to make butter from cream, the different variations you can create, and even how to make buttermilk along the way. Not only is homemade butter therapeutic and gratifying to make, it can also save you quite a bit of money! So, let’s dive in and bring back this simple skill of making homemade butter!
Gather Your Ingredients and Equipment
Before we embark on this butter-making adventure, let’s make sure we have everything we need. Here’s a list of ingredients and equipment:
- Fresh heavy cream (organic, if possible)
- A stand mixer or hand mixer
- A glass jar with a tight-fitting lid
- A sieve or cheesecloth, or strainer
- Cold water with ice
- Salt (optional)
Making Butter from Cream: The Churning Process
Now that we have our ingredients and equipment ready, it’s time to start churning!
Step 1: Pour and Chill
Pour your fresh heavy cream into the bowl of your stand mixer or a deep mixing bowl if using a hand mixer. Make sure to fill the bowl to only about one-third of its capacity to allow room for the cream to expand.
Optional: cover the bowl and refrigerate it for a few hours or overnight. Chilling the cream helps the fat globules separate more easily.
Step 2: Begin Mixing
Attach the whisk attachment to your stand mixer or grab your hand mixer. Start mixing the chilled cream on low speed to avoid splattering. As you continue mixing, the cream will gradually thicken and turn into whipped cream. Keep a close eye on the process, as it can happen quite quickly.
Step 3: Keep Mixing
After the whipped cream stage, you’ll notice a distinct change. The cream will become grainy, and you’ll see small lumps forming. This is the butterfat starting to separate from the buttermilk. Increase the mixer speed slightly, but be careful not to go too fast, as the buttermilk can splatter.
Step 4: The Butter Ball
As you continue mixing, you’ll see a clump of butter starting to form. At this point, you may want to switch to a spatula or your clean hands to gather the butter into a ball. Gently press the ball to release any remaining buttermilk. The buttermilk can be saved and used for other recipes.
Step 5: Rinse and Knead
Place the butterball in a bowl of cold water and knead it gently, or squeeze the butter gently. This process helps remove any residual buttermilk, which can cause the butter to spoil faster. As you knead, you’ll notice the water turning cloudy, indicating that the buttermilk is being removed. Drain the water and repeat this step until the water remains clear.
Step 6: Add a Pinch of Salt (Optional)
If you prefer salted butter, now is the time to add a pinch of salt to your butter. This step is optional but can enhance the flavor. Simply knead the salt into the butter until well incorporated.
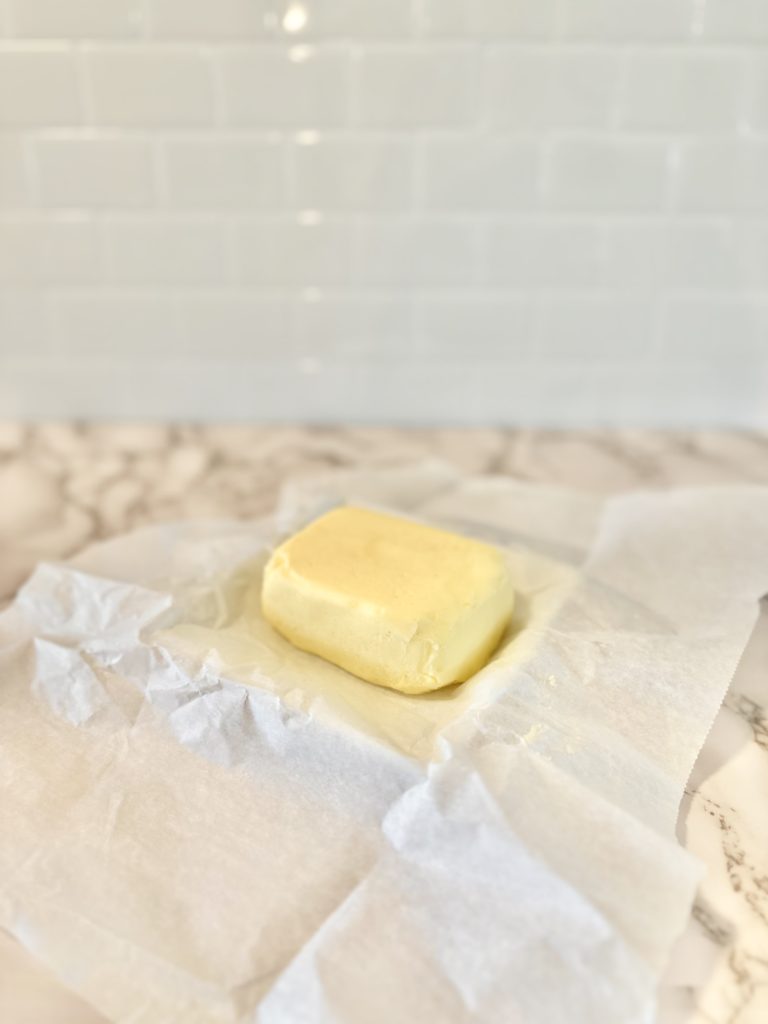
Step 7: Shape and Store
Shape your butter into a log, a ball, or use butter molds for a decorative touch. Wrap the butter in parchment paper if using right away, or place the butter in a glass jar or airtight container, ensuring there is no excess moisture. Store it in the refrigerator, where it will keep for several weeks.

Don’t Let Anything Go to Waste: Homemade Buttermilk
While making butter, you’ll find yourself with some fresh buttermilk as a byproduct. Don’t let it go to waste! Homemade buttermilk is a versatile ingredient that adds a delightful tang to baked goods and salad dressings. Here’s how you can make the most of it:
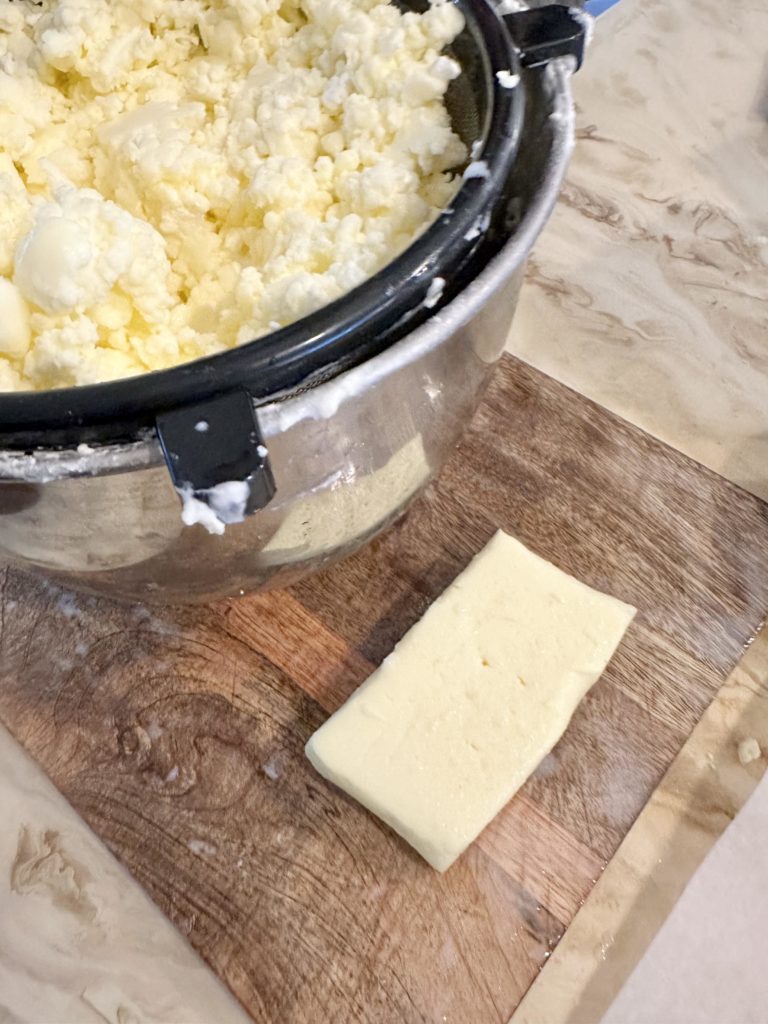
Step 1: Strain the Buttermilk
Take the remaining liquid from the butter-making process and strain it through a sieve or cheesecloth. This step helps separate any small butter particles and ensures a smoother buttermilk.
Step 2: Store and Use
Pour the strained buttermilk into a clean glass jar or airtight container. Seal it tightly and refrigerate it for up to a week. Now, you have a refreshing homemade buttermilk ready to enhance your culinary creations!
Exploring Variations: Get Creative with Homemade Butter
While the basic homemade butter is already a treat, there are endless possibilities to explore. Here are a few variations you can try:
1. Herbed Butter
Add finely chopped fresh herbs like rosemary, thyme, or parsley to your butter. This savory combination is perfect for spreading on warm bread or melting over grilled vegetables.
2. Honey Butter
Mix softened butter with a drizzle of honey to create a luscious and sweet spread. It’s delightful on pancakes, waffles, or even a warm slice of homemade bread.
3. Cinnamon Sugar Butter
Combine softened butter, ground cinnamon, and a touch of sugar for a heavenly butter that will elevate your morning toast or muffins.
Congratulations! You’ve learned how to make butter from cream and even discovered how to make buttermilk along the way. By embracing the art of homemade butter, you’re not only treating yourself to a delicious spread but also connecting with centuries-old traditions of self-sustainability and homesteading. So, gather your ingredients, channel your inner butter-making enthusiast, and enjoy the delightful journey of crafting your own butter at home. Your taste buds will thank you!
Remember, with a little creativity, you can also experiment with different variations like herbed butter, honey butter, and cinnamon sugar butter. The possibilities are endless, and you can truly make your butter uniquely yours.
Now, go forth, enjoy the process of making homemade butter, and spread the love!
See more featured recipes and bring back the art of simple living, visit https://freshcupofjoy.com/category/food-health/recipes/!